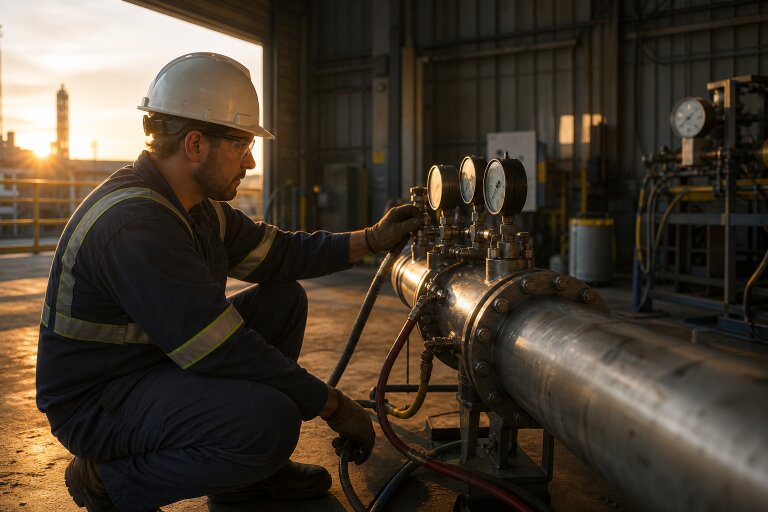
Key Takeaways
- Pressure testing helps identify leaks, weak connections, deformation, and structural concerns before equipment enters service.
- Hydrostatic, pneumatic, leak, proof, burst, and transient tests each answer different engineering questions.
- The safest useful test method depends on the component, service conditions, test medium, and consequences of failure.
- Reliable results require calibrated instruments, suitable fixtures, defined acceptance criteria, and disciplined safety controls.
- A pressure drop does not automatically mean the component failed. Temperature changes, trapped air, and measurement error can also affect results.
Table of Contents
- Why Pressure Testing Matters
- The Main Types of Pressure Tests
- How to Choose the Right Test
- How to Plan a Pressure Test
- Safety Controls Before Testing
- How to Read the Results
- Records, Reports, and Follow-Up
- Common Questions About Pressure Testing
- Final Thoughts
Why Pressure Testing Matters
Visual inspection is important, but it cannot fully reveal how a sealed assembly will behave under pressure. industrial pressure testing gives maintenance, quality, and engineering teams measurable evidence about whether a component can retain pressure and perform as intended. It can reveal leaking seals, weak welds, damaged threads, poor fittings, and structural issues before they become in-service failures.
Consider a pipe assembly that appears sound on a workbench. Once pressurized and held for several minutes, it may slowly lose pressure through a fitting or show movement at a joint. That difference illustrates why pressure retention, controlled loading, and documented observations matter more than appearance alone.
Pressure testing is used across piping systems, hoses, valves, cylinders, tanks, heat exchangers, fittings, and custom assemblies. The right process can support product development, incoming inspection, routine maintenance, repair verification, and final quality release.
The Main Types of Pressure Tests
Hydrostatic Testing
Hydrostatic testing uses a liquid, commonly water, to pressurize a component and check for leaks or structural flaws. It is often preferred when practical because liquids generally store less energy than compressed gases. OSHA describes hydrostatic testing as a method for checking critical components for leaks and structural flaws, while also warning that using air or gas for hydrostatic testing can create greater danger. See OSHA’s hydrostatic testing guidance for a useful safety-focused reference.
Pneumatic Testing
Pneumatic testing uses air, nitrogen, or another gas. It can be appropriate where water could contaminate, corrode, freeze inside, or otherwise damage the equipment. However, compressed gas stores substantial energy, so pneumatic testing demands stronger controls, careful pressurization, secure restraints, and well-managed exclusion zones.
Leak Testing
Leak testing focuses on whether fluid can escape through a seal, joint, wall, or connection. Common approaches include pressure-decay testing, bubble testing, fluid collection, and tracer-gas techniques. A leak test is valuable for confirming tightness, but it does not necessarily prove that the item has adequate structural strength.
Proof, Burst, and Transient Testing
Proof testing verifies that a component can withstand a specified pressure without unacceptable leakage or permanent damage. Burst testing intentionally continues until failure to identify the maximum pressure capability and the failure mode. Transient pressure testing evaluates equipment exposed to rapid pressure changes, such as pump starts, valve closures, or repeated pressure pulses. Burst testing is destructive, while proof and many transient tests can be non-destructive when planned within defined limits.
How to Choose the Right Test
Start by defining the decision the test must support. A clear objective prevents teams from choosing a test merely because it is familiar.
- Define the question. Determine whether the goal is leak detection, strength verification, deformation measurement, or failure analysis.
- Document operating conditions. Consider working pressure, temperature, fluid compatibility, pressure cycles, and expected service life.
- Review the design. Examine material type, wall thickness, welds, threads, seals, fittings, corrosion exposure, and previous repairs.
- Select the least hazardous useful method. Choose a test medium and pressure profile that provides useful evidence without avoidable risk.
- Confirm requirements. Follow the applicable code, drawing, customer specification, or internal procedure.
A practical comparison is as follows: hydrostatic testing commonly evaluates leaks and structural integrity using liquid; pneumatic testing serves similar purposes where liquid is unsuitable; proof testing confirms performance at a defined limit; burst testing establishes a destructive failure point; and transient testing examines behavior during rapid pressure changes.
How to Plan a Pressure Test
A useful test begins before anything is connected to a pump or gas source. The written plan should identify the equipment, revision level, test medium, target pressure, pressurization rate, hold time, temperature range, measurement points, acceptance criteria, and stop-test conditions.
Test Plan Checklist
- Verify the correct drawing, part number, and equipment identification.
- Inspect for visible damage, corrosion, contamination, or incomplete connections.
- Confirm that temporary plugs, caps, hoses, seals, and fixtures are rated for the intended load.
- Use gauges and sensors with suitable ranges and current calibration records.
- Assign authority to start, pause, stop, and modify the test.
- Define pass, fail, and investigation criteria before pressurization begins.
Safety Controls Before Testing
Stored pressure hazards from failed caps, fittings, hoses, or vessels can be serious. Use barriers, remote controls, controlled pressurization, relief devices, venting, and exclusion zones to keep personnel away from release paths. No one should stand in line with potentially movable components when pressure is released. Safe work requires proper documentation and equipment controls. OSHA warns that rupturing pressure vessels can cause injuries from debris or fluids, and emphasizes hydrostatic testing, records, and relief valves set to safe pressure.
How to Read the Results
Pressure Stability and Leak Location
A pressure drop may signal a leak, but it can also result from temperature change, trapped air, instrument drift, or settling of the test setup. Compare pressure readings with temperature, hold time, and visual observations. Bubbles, fluid traces, tracer-gas readings, or localized sensor data can help identify the actual source.
Deformation and Failure Mode
Dimensional checks, strain measurements, and post-test inspections help determine whether a part remained within its elastic range or suffered permanent movement. During destructive tests, the failure location matters. A split wall, cracked weld, pulled fitting, seal extrusion, or brittle fracture can point to different design, manufacturing, or material concerns.
Records, Reports, and Follow-Up
A complete pressure-test report should include equipment identification, revision level, date, location, personnel, test medium, environmental conditions, instrument identification, calibration status, pressure and time records, inspection notes, photographs when useful, and the final pass, fail, or conditional result. It should also document observed leaks, deformation, corrective actions, and any retest requirements. Good records create traceability. Another qualified reviewer should be able to determine what was tested, how it was tested, which limits applied, and why the result was accepted or rejected.
Common Questions About Pressure Testing
How Often Should Equipment Be Pressure Tested?
Frequency depends on equipment type, service conditions, governing requirements, maintenance history, repairs, and signs of damage. A test schedule should be based on applicable rules and a documented risk assessment.
Is Hydrostatic Testing Always Safer?
Liquid testing often reduces stored-energy risk compared with gas testing, but it is not risk-free. Proper fixtures, barriers, inspection, pressure control, and trained personnel remain essential.
What Should Happen After a Failed Test?
Safely stop the test, isolate the item, preserve the evidence, verify that the setup was performed correctly, inspect the component, and complete a documented root cause review before retesting.
Final Thoughts
Pressure testing is most valuable when it answers a specific engineering question. Selecting the right method, preparing thoroughly, controlling hazards, using reliable instruments, and recording the outcome can help teams identify small weaknesses before they become costly failures in service.